What is a Sonic Horn?
Sonic Horns (also called acoustic horns) produce high intensity, low frequency sound vibrations that fluidize and remove unwanted particulate build-up or bridging.
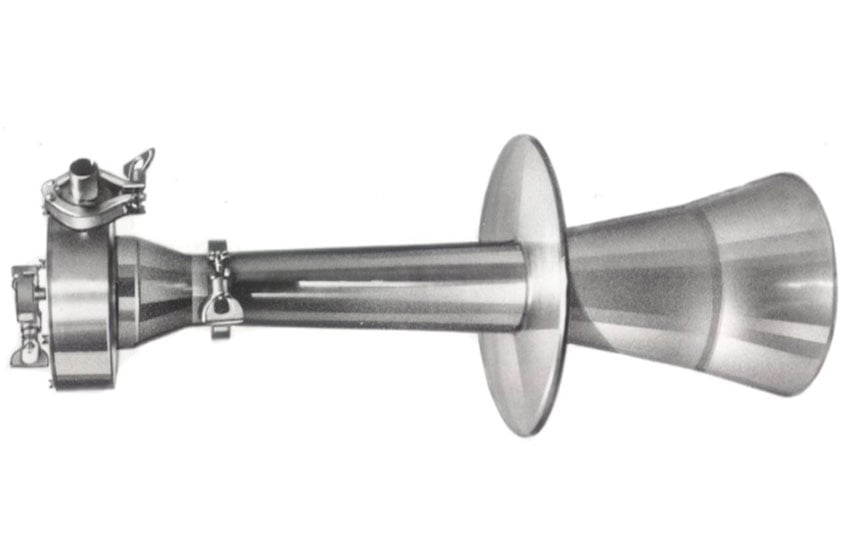
Sonic Horn Installation
Correct Sonic Horn location is critically important for maximum sound intensity and optimum sonic cleaning results.
Internal vs. External Installation
- If internal installation is required, a chain supporting system is recommended
- If external installation is required, it is recommended that the Sonic Horn be bolted or clamped to a flange to allow future removal for maintenance and inspection. If mounted to a hot surface, a complete insulation unit is recommended to prevent moisture and condensation from accumulating inside the driver and bell.
- DO NOT REMOVE the sonic horn’s reducer for the air supply chain
- DO NOT USE pipe tape to make piping connections
Operating Sonic Horns
The optimum performance of a sonic or acoustic horn can be achieved by setting the air regulator to supply 70 to 80 psig continuously through a ¾ pipe during sounding.
- A Start-Up sequence is recommended to test and evaluate the Sonic Horn’s cleaning process before establishing which amount of time is required for optimum cleaning, and the extension of your diaphragms life.
- It is recommended that the Sonic Horn should only operate as long as required to extend diaphragm plate life and minimize driver wear. The typical diaphragm life is approximately 400-750 hours.
Sonic Horn Cleaning and Maintenance
Inspections are recommended every 3 to 6 months. The most important part of the sonic horn that requires regular inspection or maintenance is the driver, which has 3 parts: the driver “body,” diaphragm, and driver lid. When inspecting or troubleshooting the driver, the following steps should be taken:
- Check air pressure as close to the horn as possible (minimum of 70 psig and a maximum of 80 psig are optimal)
- Remove driver lid and inspect the seat for any sort of debris buildup (this should be a clean surface). If there is any sign of wear, it should be replaced.
- Remove the diaphragm plate and check for cracks and wear on the outer edge. If wear on the plate is greater than a depth of .002 to .004 then the diaphragm should be replaced.
- Clean the driver body cavity with oiled cloth, removing all rust and debris. The seating surface that the diaphragm contacts against must be smooth and free of foreign build-up.
- Re-assemble the driver and test the operating performance with a pressure gauge (0-15 psig) utilizing 1/4“NPT threads. Attach gauge to the ¼” NPT opening where the ¼” pipe plug is on the driver lid. The gauge should read between ½ and 5 psig if the Sonic Horn is operating properly.
Sonic Horn Safety Measures
Pre-Installation – DO NOT OPERATE SONIC HORNS WITHOUT HEARING PROTECTION!
Long term exposure to intense sound without hearing protection may cause permanent hearing loss. For further details and information regarding this issue, visit the website for OSHA Safety Regulations.
For further assistance, please do not hesitate to call an IAC representative.